An open source Android application that is intentionally vulnerable so as to act as a learning platform for Android application security beginners. The effort is to introduce beginners with very limited or zero knowledge to some of the major and commonly found real-world based Android application vulnerabilities in a story-based, interactive model. EVABS follows a level-wise difficulty approach and in each level, the player learns a new concept. This project is still under progress and aims at incorporating as many levels as possible.
For complete details and solutions, head to the blog series.
INSTALLATION
- Download the latest application file from the releases page.
- Install it in an Android device (rooted recommended) or emulator. (Head to this blog for more information)
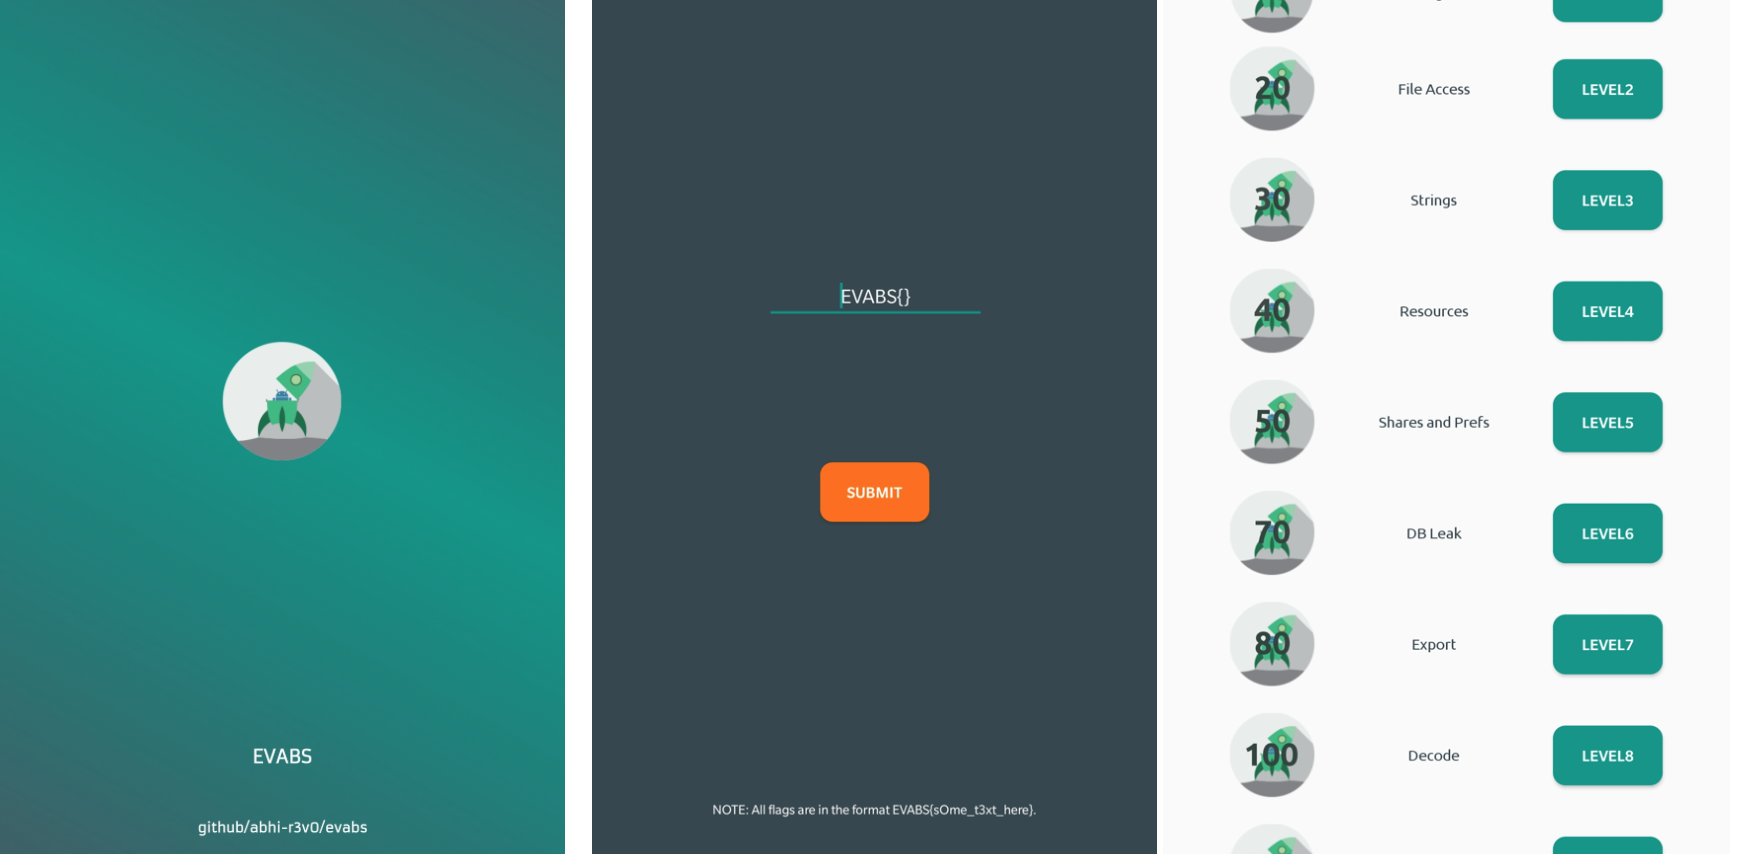
SCREENSHOTS:
REQUIREMENTS
or use ADHRIT (all-in-one tool)
Confused? Read the documentation on setting up the environment.
CHANGE LOG:
- Flag checking module added within EVABS.
- Alternatively, you can use this link to submit flags from your browser.
- UI improvements
BUILDING LOCALLY:
- Clone the repository
git clone https://github.com/abhi-r3v0/EVABS.git
or download the zip. - Create a new folder
EVABS
in yourAndroidStudioProjects
directory and move the contents to the new directory. - Fire up Android Studio,
File
->open
and select the project. - Go to
Build
->Generate Signed APK
. - Create a new signature, if it doesn't exist. Sign the APK.
- Install the APK using
adb install EVABS.apk
THE SQUAD:
PROJECT LEAD:
- Abhishek J M ([email protected], @HawkSpawn)
LOGO:
- Loyd Jayme ([email protected], @loydjayme25)
[PART 1] Getting Started with EVABS
Introduction
In this blog post, we’ll see how we can kickstart learning Android security in a CTF approach.
What are CTFs?
CTF stands for ‘Capture The Flag’, which is basically gamifying and making the learning process more intuitive and fun. In a CTF, a user is given intentionally vulnerable software/hardware. The ‘software/hardware’ mentioned here includes, but is not limited to:
- Web applications
- Programs/executables
- Images/video/audio files
- Mobile applications
- IoT devices
The user then uses his skills and exploits the vulnerability and finds the ‘flag’. A flag is usually a random text with/without a predefined pattern. For example, all the flags for EVABS are of the format EVABS{s0m3_rand0m_t3xt_h3r3}. The flow of a CTF goes like this:
- Identifying the vulnerability
- Exploiting the vulnerability
- Capturing the flags and submitting them for points/rewards
An example of a CTF can be found here: Pico CTF
What is EVABS?
EVABS - Extremely Vulnerable Android Labs - is a CTF-style, Android application that has many known native vulnerabilities embedded in it. It can be installed in Android devices that run 4.4 (Kitkat) and above. The project is open sourced at this GitHub repository.
Why EVABS?
- The advantage of the CTF-style approach is that the user gets to verify if he successfully exploited a particular service/application/program or not by getting a flag and submitting it to a flag verifying service online.
- EVABS is finely crafted to match the requirements of a beginner. EVABS is divided into 12 levels and with each level, the difficulty linearly increases and the user learns a new kind of attack.
- The vulnerabilities in EVABS replicate real-world vulnerabilities. This helps people focusing on bug bounty/CTFs as well.
- EVABS is open source. This means it can be used as a medium to understand how not to write a piece of code :)
Requirements and Environment Setup
Must Have
- A rooted device or emulator. A rooted device is recommended
- For a rooted device, one of the below devices are recommended
Device | make |
Moto G5/6 | Motorola |
Pixel | |
3/3T/5/5T | OnePlus |
Any other device of your choice could be used, provided, they have root available. You can check if your device can be rooted easily by Googling.
- If you’re choosing an emulator, either you can use Genymotion or use the default Android emulator shipped with the Android SDK. You can also use any emulator of your choice as well.
- Android platform tools
- On Linux:
-
sudo apt-get install android-tools-adb
-
- On Mac:
- brew cask install android-platform-tools
- On Linux:
- Java
- Mac/Linux operating system recommended
Recommended
- Android Studio
- Android SDK
- Sublime Text Editor
- Adhrit
Checking Setup
- Checking for Java: java --version
- Checking ADB adb --version
Installation
Installing the APK file from Android device
- Head to the EVABS repository here and download the APK file EVABS v1.1.apk or directly download the APK file EVABS v1.1.apk from phone browser
- Allow APK installation from unknown sources in device settings
- Click on the downloaded APK file and install the app
Installing the APK using ADB (phone/emulator)
- Head to the EVABS repository here and download the APK file EVABS v1.1.apk or directly download the APK file EVABS v1.1.apk
- Enable USB Debugging in your device
- Connect the device via USB. If you are using an emulator, skip this step. Instead, start the emulator.
- Try: adb devices
This should list your connected device. If you are connecting your device for the first time, allow the computer by confirming the message that would pop-up on the device. - Install the APK adb install -r path/to/EVABSv1.1.apk
You will receive a success message if the installation completes.
Building Locally
- Head to the EVABS repository here and either clone the repository or download it as a zip file.
- Extract the zip file to your Android Studio Projects directory. unzip EVABS-master.zip path/to/AndroidStudioProjects
- Fire up Android Studio and navigate to File - Open and select the extracted project directory. This will open the project.
- Deploying
- Running the app without generating a signed APK
- Click on Run and EVABS will be deployed in the connected device/emulator.
- Building a signed APK
- Navigate to Build - Generate Signed APK. Create a new signature if you haven’t created one already. Sign the APK (v2 recommended) as release. You’ll find the APK file as AndroidStudioProjects/EVABS-master/app/release/app-release.apk
- Install this APK with ADB as discussed in the earlier section.
- Running the app without generating a signed APK
Conclusion
This winds up the basic setup procedure. As we start completing labs, we will be installing the other necessary tools so that the context of the tool is understood. Proceed to PART 2 to continue.
Author