Step 6: Code Signing
I spent over 20 hours trying to figure out all the steps needed to successfully build the app for device. A half of this time I spent on this one step.
Before we start, here’s a nice picture of kittens for you.

All your installed provisioning profiles are stored in ~/Library/MobileDevice/Provisioning\ Profiles/. The first challenge is to find the correct one to use for this app.
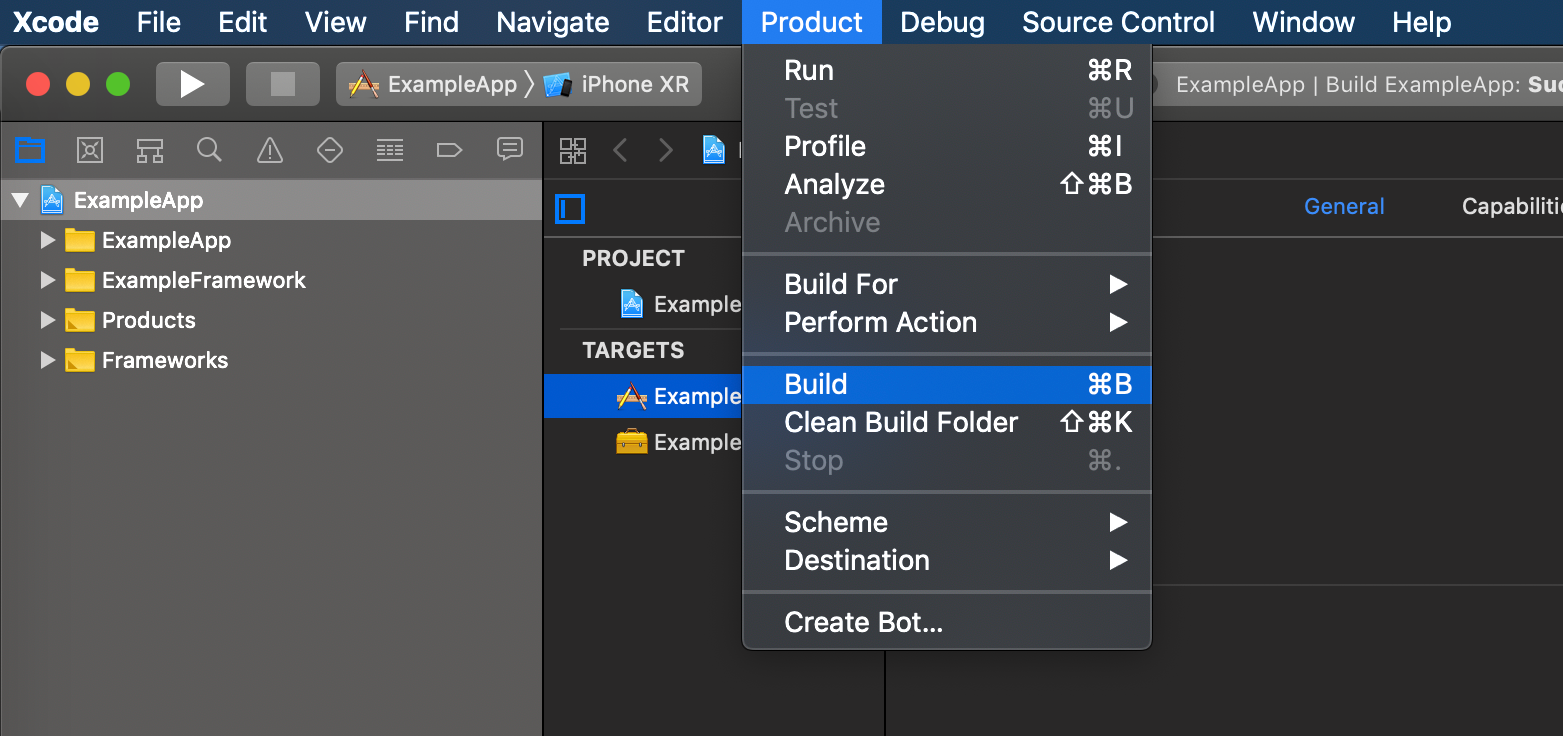
I’d strongly recommend to figure everything out in Xcode, first. If I’m not mistaken, with the free Apple dev account, you can’t even create a new provisioning profile using the web portal. You have to use Xcode for that.
Once you have the code signing working there, make a note of which provisioning profile and signing identity were used.
For the app bundle to be valid, it has to contain a file named embedded.mobileprovision in its root. Let’s copy the correct provisioning profile to the app bundle, and rename it:
#############################################################
echo → Step 6: Code Signing
############################################################# # The name of the provisioning file to use
# ⚠️ YOU NEED TO CHANGE THIS TO YOUR PROFILE ️️⚠️
PROVISIONING_PROFILE_NAME=23a6e9d9-ad3c-4574-832c-be6eb9d51b8c.mobileprovision # The location of the provisioning file inside the app bundle
EMBEDDED_PROVISIONING_PROFILE=${BUNDLE_DIR}/embedded.mobileprovision cp ~/Library/MobileDevice/Provisioning\ Profiles/${PROVISIONING_PROFILE_NAME} ${EMBEDDED_PROVISIONING_PROFILE}
echo ✅ Copy provisioning profile ${PROVISIONING_PROFILE_NAME} to ${EMBEDDED_PROVISIONING_PROFILE}
6.2 Signing Entitlements
Another file needed to successfully sign the bundle is the .xcent file. This file is just another plist, created by merging project’s Entitlements file with additional signing information.
There’s no Entitlements file in our project, so this part of merging is done ????.
The additional signing information, I was referring to, is the Apple dev team ID. This ID has to be the one from the signing identity you are about to use in the next step.
Let’s create the .xcent file and set the required values:
#############################################################
echo → Step 6: Code Signing
############################################################# ... # The team identifier of your signing identity
# ⚠️ YOU NEED TO CHANGE THIS TO YOUR ID ️️⚠️
TEAM_IDENTIFIER=X53G3KMVA6 # The location if the .xcent file
XCENT_FILE=${TEMP_DIR}/${PROJECT_NAME}.xcent # The file doesn't exist but PlistBuddy will create it automatically
${PLIST_BUDDY} -c "Add :application-identifier string ${TEAM_IDENTIFIER}.${APP_BUNDLE_IDENTIFIER}" ${XCENT_FILE}
${PLIST_BUDDY} -c "Add :com.apple.developer.team-identifier string ${TEAM_IDENTIFIER}" ${XCENT_FILE} echo ✅ Create ${XCENT_FILE}
6.3 Signing
Now, when we have all the required pieces in place, we perform the actual signing. The tool which will help us with this is called codesign.
You need to specify which identity should be used for signing. You can list all available identities in the terminal using:
$ security find-identity -v -p codesigning
For the app bundle to be valid, we need to sign all dynamic libraries in the Frameworks folder, and then the bundle itself. We use the xcent file only for the final signing. Let’s finish this!
#############################################################
echo → Step 6: Code Signing
############################################################# ... # The id of the identity used for signing
IDENTITY=E8C36646D64DA3566CB93E918D2F0B7558E78BAA # Sign all libraries in the bundle
for lib in ${SWIFT_LIBS_DEST_DIR}/*; do
  # Sign
  codesign \
    --force \
    --timestamp=none \
    --sign ${IDENTITY} \
    ${lib}
  echo ✅ Codesign ${lib}
done # Sign the bundle itself
codesign \
  --force \
  --timestamp=none \
  --sign ${IDENTITY} \
  --entitlements ${XCENT_FILE} \
  ${BUNDLE_DIR} echo ✅ Codesign ${BUNDLE_DIR}
Celebrate!
The last part of the script we need to write is the final message:
#############################################################
echo ????Building ${PROJECT_NAME} for device successfully finished!????
exit 0
#############################################################
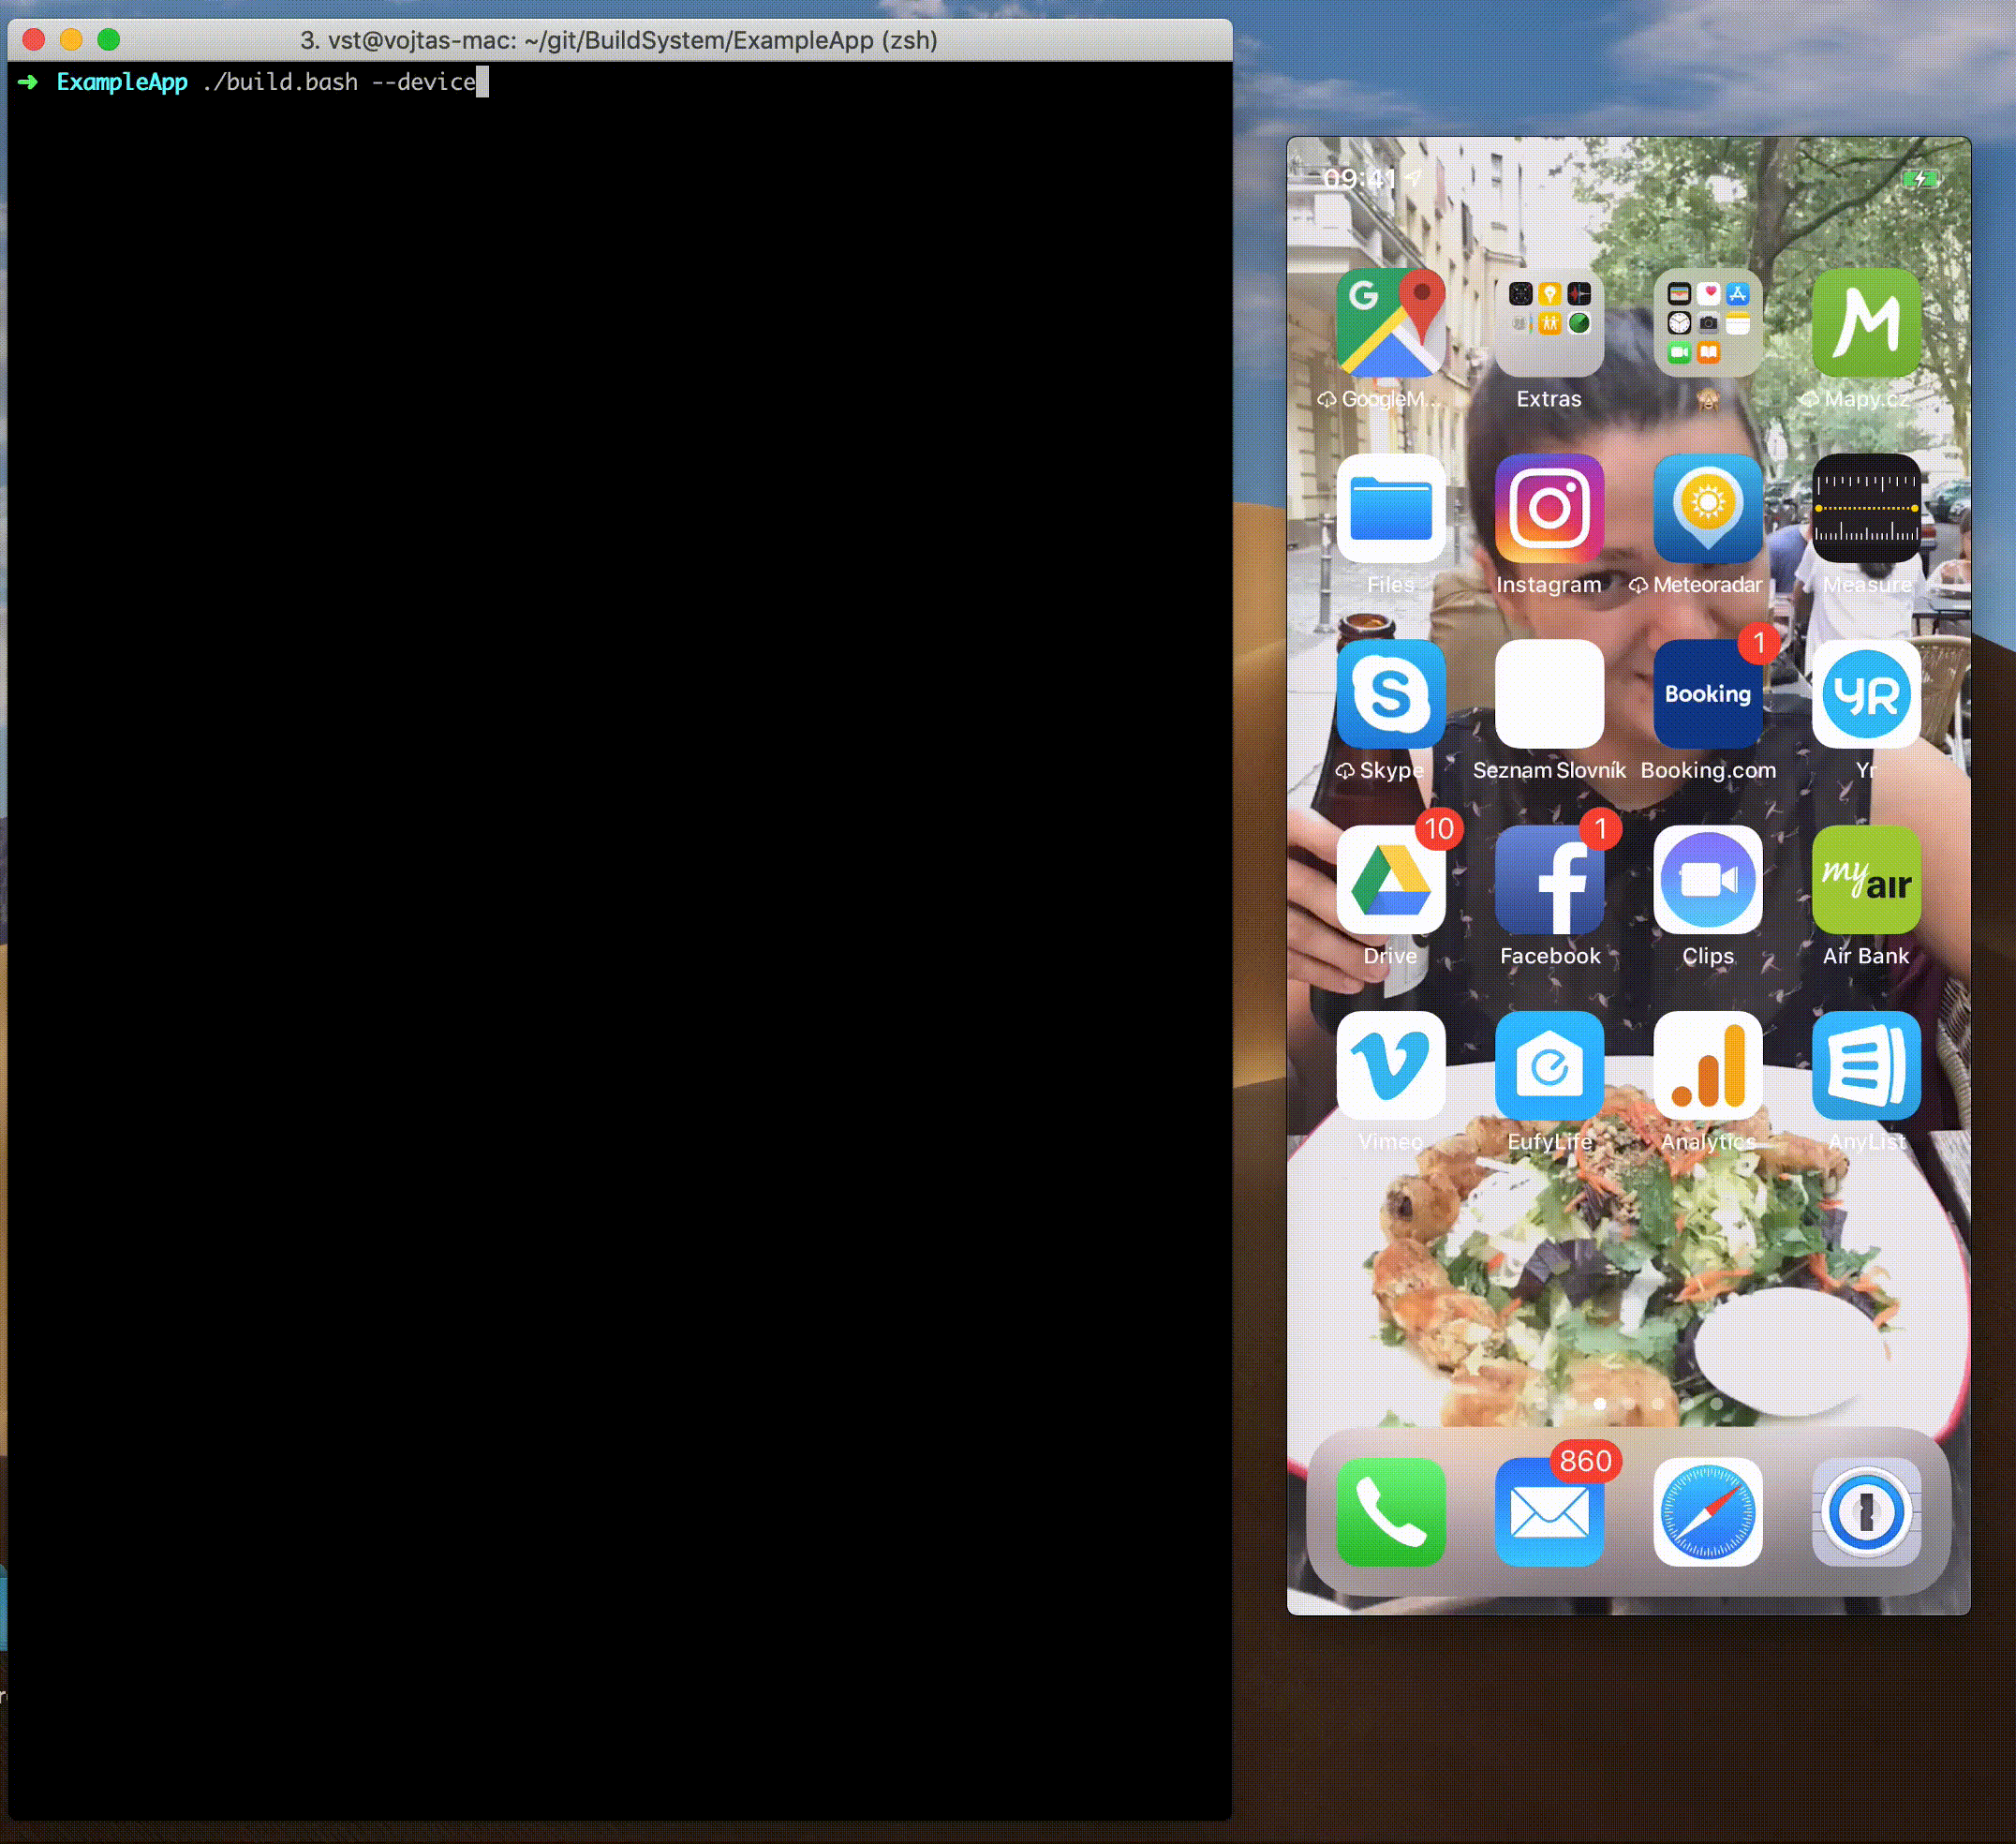
You can now run the script, sit back, and enjoy your victory:
$ ./build.bash --device
???? Building ExampleApp for device → Step 1: Prepare Working Folders
✅ Create ExampleApp.app folder
✅ Create _BuildTemp folder → Step 2: Compile Swift Files
✅ Compile Swift source files ExampleApp/AppDelegate.swift ExampleApp/ViewController.swift → Step 3: Compile Storyboards
✅ Create ExampleApp.app/Base.lproj folder
✅ Compile ExampleApp/Base.lproj/LaunchScreen.storyboard
✅ Compile ExampleApp/Base.lproj/Main.storyboard → Step 4: Process and Copy Info.plist
✅ Copy ExampleApp/Info.plist to _BuildTemp/Info.plist
✅ Set CFBundleExecutable to ExampleApp
✅ Set CFBundleIdentifier to com.vojtastavik.ExampleApp
✅ Set CFBundleName to ExampleApp
✅ Copy _BuildTemp/Info.plist to ExampleApp.app/Info.plist → Step 5: Copy Swift Runtime Libraries
✅ Create ExampleApp.app/Frameworks folder
✅ Copy libswiftCore.dylib to ExampleApp.app/Frameworks
✅ Copy libswiftCoreFoundation.dylib to ExampleApp.app/Frameworks
✅ Copy libswiftCoreGraphics.dylib to ExampleApp.app/Frameworks
✅ Copy libswiftCoreImage.dylib to ExampleApp.app/Frameworks
✅ Copy libswiftDarwin.dylib to ExampleApp.app/Frameworks
✅ Copy libswiftDispatch.dylib to ExampleApp.app/Frameworks
✅ Copy libswiftFoundation.dylib to ExampleApp.app/Frameworks
✅ Copy libswiftMetal.dylib to ExampleApp.app/Frameworks
✅ Copy libswiftObjectiveC.dylib to ExampleApp.app/Frameworks
✅ Copy libswiftQuartzCore.dylib to ExampleApp.app/Frameworks
✅ Copy libswiftSwiftOnoneSupport.dylib to ExampleApp.app/Frameworks
✅ Copy libswiftUIKit.dylib to ExampleApp.app/Frameworks
✅ Copy libswiftos.dylib to ExampleApp.app/Frameworks → Step 6: Code Signing
✅ Copy provisioning profile 23a6e9d9-ad3c-4574-832c-be6eb9d51b8c.mobileprovision to ExampleApp.app/embedded.mobileprovision
File Doesn't Exist, Will Create: _BuildTemp/ExampleApp.xcent
✅ Create _BuildTemp/ExampleApp.xcent
ExampleApp.app/Frameworks/libswiftCore.dylib: replacing existing signature
✅ Codesign ExampleApp.app/Frameworks/libswiftCore.dylib
ExampleApp.app/Frameworks/libswiftCoreFoundation.dylib: replacing existing signature
✅ Codesign ExampleApp.app/Frameworks/libswiftCoreFoundation.dylib
ExampleApp.app/Frameworks/libswiftCoreGraphics.dylib: replacing existing signature
✅ Codesign ExampleApp.app/Frameworks/libswiftCoreGraphics.dylib
ExampleApp.app/Frameworks/libswiftCoreImage.dylib: replacing existing signature
✅ Codesign ExampleApp.app/Frameworks/libswiftCoreImage.dylib
ExampleApp.app/Frameworks/libswiftDarwin.dylib: replacing existing signature
✅ Codesign ExampleApp.app/Frameworks/libswiftDarwin.dylib
ExampleApp.app/Frameworks/libswiftDispatch.dylib: replacing existing signature
✅ Codesign ExampleApp.app/Frameworks/libswiftDispatch.dylib
ExampleApp.app/Frameworks/libswiftFoundation.dylib: replacing existing signature
✅ Codesign ExampleApp.app/Frameworks/libswiftFoundation.dylib
ExampleApp.app/Frameworks/libswiftMetal.dylib: replacing existing signature
✅ Codesign ExampleApp.app/Frameworks/libswiftMetal.dylib
ExampleApp.app/Frameworks/libswiftObjectiveC.dylib: replacing existing signature
✅ Codesign ExampleApp.app/Frameworks/libswiftObjectiveC.dylib
ExampleApp.app/Frameworks/libswiftQuartzCore.dylib: replacing existing signature
✅ Codesign ExampleApp.app/Frameworks/libswiftQuartzCore.dylib
ExampleApp.app/Frameworks/libswiftSwiftOnoneSupport.dylib: replacing existing signature
✅ Codesign ExampleApp.app/Frameworks/libswiftSwiftOnoneSupport.dylib
ExampleApp.app/Frameworks/libswiftUIKit.dylib: replacing existing signature
✅ Codesign ExampleApp.app/Frameworks/libswiftUIKit.dylib
ExampleApp.app/Frameworks/libswiftos.dylib: replacing existing signature
✅ Codesign ExampleApp.app/Frameworks/libswiftos.dylib
✅ Codesign ExampleApp.app ???? Building ExampleApp for device successfully finished! ????